The constant velocity joint (CV joint) - was specially designed for front-wheel drive vehicles. Its main purpose is to transfer rotation from the transmission to the drive of the drive wheels. The main difference between this unit and the similar one used in rear-wheel drive vehicles of the cardan shaft is that it has to transmit rotation to the axle shafts, in which the angle relative to each other is constantly changing. In order to protect the CV joint, it is necessary to timely replace the anthers: both external and internal hinge assemblies.
Anther and its application
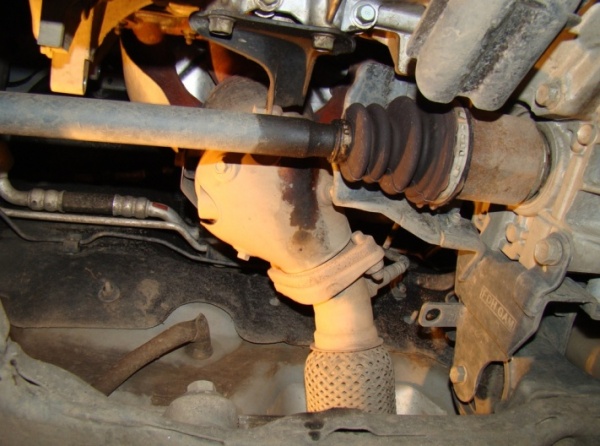
The designers understood in what conditions the hinge would have to work and what loads it must withstand, so they put a large margin of safety into the design and took care of protecting this assembly. Anther is a rubber corrugated cone that tightly fits the knot and protects it from moisture and dirt.
It was assumed that the life of this design would be equal to the resource of the entire car, but the operating conditions made their own adjustments and the anther became the weakest link. For its manufacture, materials have been developed that are resistant to moisture and low temperatures, with great flexibility.
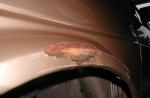
Abnormal external factors, high torsional loads, dirt, moisture and sand lead to deformation and cracking of the anther, penetration of water and abrasive particles into the assembly and its failure. To prevent this, it is necessary to periodically inspect the condition and replace the CV joint anthers in time.
By itself, the cost of the product is small, but the work of replacing it is very expensive at the service station. The task of the motorist is to prevent the appearance of small cracks and damage. Do not wait for the CV joint to start clicking and cracking while driving. Otherwise, you will have to change the entire assembly, and this will be much more expensive. The most reasonable option is to replace the boot yourself. There is nothing difficult in the work, only attentiveness and a certain skill are required.
Step-by-step instructions for replacing the anther of the outer CV joint
When any, even minor damage and frayed anther is noticed, this is a reason for its immediate replacement. For this you need:
If it is necessary to replace the anther only on the outer CV joint, then do the following:
We change the anther on the inner CV joint
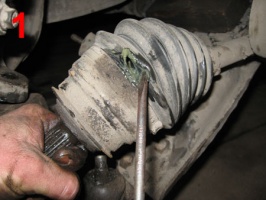
On the CV joint, which is directly included in the transmission, the shaft drive to replace the anther must be removed entirely, having previously removed it from the hub and gearbox. First of all, remove the clamp from it. When we took out the outer hinge from the hub, you need to hold the drive shaft with both hands and pull it out of the transmission with a sharp movement. You can also use the mount as a lever.
Then you should close the inlet of the gearbox with a plastic plug so that oil does not leak out.
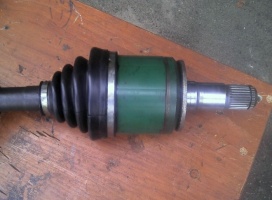
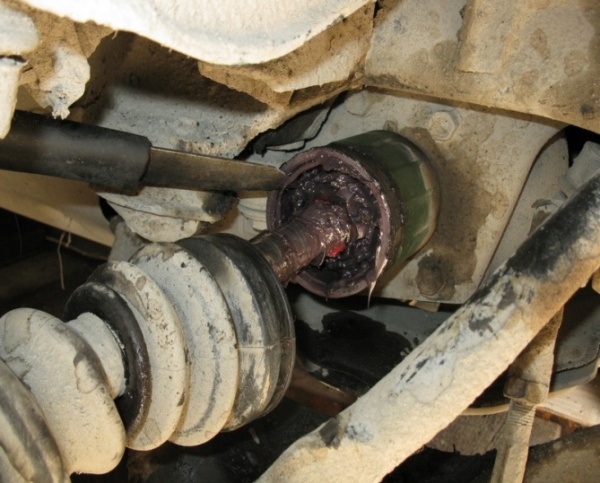
The drive shaft is clamped in a vise and the anther is removed. We take out the retaining ring from the hinge glass and take out the CV joint holder with balls. We wash everything in kerosene, if we took out the balls, then we definitely return them strictly to their place.

We put grease in the holder and boot, after putting it on the shaft. We recommend Hado grease 125 grams and Hado-repair 60 grams, a mixture of these greases allows you to restore the internal geometry. We put the hinge on the shaft, put on the boot and tighten the clamp.
We take out the plug from the box, insert the drive shaft into the hole and with a hammer, substituting a wooden block, we drive it into the transmission. We insert the outer CV joint into the hub and assemble the suspension.
Advice! If defects are found, we immediately change all the anthers.
The outer and inner CV joints are operated under the same conditions and wear out at the same time, so it makes no sense to change them separately, and even with the drive removed from the gearbox, it is much easier to change the joints.
Removing and replacing the CV joint boot on Renault Logan
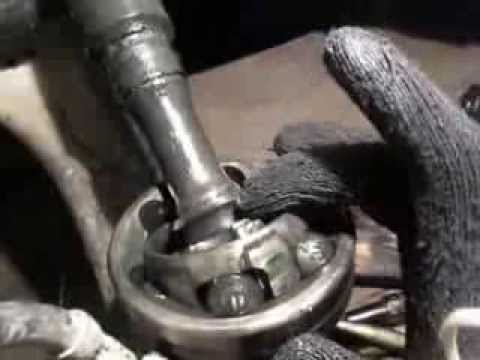
The external CV joint on Renault Logan differs from domestic ones in that it cannot be disassembled and removed. Therefore, the work of replacing the anther with Logan is quite laborious, but it cannot be called difficult. There are devices to facilitate this process, but as a rule they are not in garages and you have to use a proven tool - a chisel and a mount.
Step by step, all the work on the replacement looks like this:

The suspension assembly is carried out in the reverse order, then we return the wheel to its place and pour oil into the transmission. Such a process is estimated by service station employees at a fairly decent amount, therefore, to replace anthers, it is logical to change the entire drive to Renault Logan.
Tool for replacement without dismantling the joint
Many motorists know what a laborious process is the work of replacing the CV joint boot. At the same time, you have to disassemble almost the entire front suspension, and this is all in order to replace some small rubber corrugation.
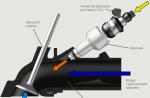
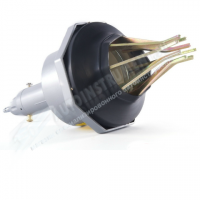
But everything is not so bad, engineering thought does not stand still, bright minds came up with an original way to replace the hinge anthers using one recent invention - a universal part puller. This pneumatic tool allows you to easily stretch the boot, install it without disassembling the CV joint and without removing the entire drive shaft.
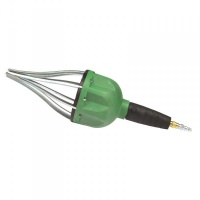
The light weight of the stretcher and the pneumatic drive do not require much physical effort and are very convenient for the process of replacing anthers without removing the CV joint. Manufacturers guarantee the safety of pneumatic tools during the installation of anthers of both external and internal CV joints.
The unique tool allows you to work with rubber products with a diameter of 20 to 110 mm. The pressure to be maintained must not exceed nine bar. The mass of the device is 4060 grams.
Brief description of the operation of the pneumatic puller:
- Anther made of new strong rubber needs to be stretched to a size that is 3 times larger than the initial one.
- We put a new one on the petals of the pneumatic tool.
- We disconnect the hinge from the suspension elements (remove the ball, tie rod, take out the hub).
- We remove the old clamps and cut the anther.
- We turn on the compressor and the spokes of the device stretch it to the desired size.
- A stretched anther is put on a cleaned, washed and stuffed with grease CV joint.
- Clamps are installed and the suspension is assembled.
Thus, all laborious work on disassembling and assembling the structure is excluded. This method of replacing the anther is especially useful for those motorists whose cars are equipped with non-separable CV joints.
How this device works to replace the anther without removing the CV joint can be seen in the video: