In Russia today, the situation is such that some gas stations do not have very clean fuel, therefore, with the conditions of our country, fuel filtration already inside the car, which is carried out using a fuel pump filter, is especially acute. Therefore, the fuel filter should be changed a little more often than required by the regulations of your car. Since fuel injectors have very tiny openings, a fuel filter is used to remove even the smallest contaminants. On average, the fuel filter should be changed at least every 100 thousand kilometers or 3 years of car operation. But for some car models, the instruction requires replacing the fuel filter much more often.
So, how to change the fuel filter in the car? We will consider the most common scheme for replacing a car air filter when the filter is not located inside. Such a scheme is suitable for replacing the fuel filter of many models of brands such as Toyota, VAZ, Renault, Nissan, Ford, Kia, Hyundai, Opel and others.
To replace the fuel filter, we need the following tools:
- set of wrenches;
- (may be required) a special tool to disconnect the fittings when replacing the fuel filter;
- pliers;
- protective gloves;
- safety glasses;
- screwdriver.
So, change the fuel filter! Below you can see a visual replacement of the fuel filter in different models.
Part 1: Remove the old fuel filter for replacement
Step 1: Locate the fuel filter. As a rule, the fuel filter will be located under the vehicle - either under the seat right next to the fuel tank, or access to it will be open from under the bottom of the car. Less commonly, it may be in the engine compartment. In this case, look for it near the wall separating the engine compartment from the passenger compartment.
The fuel filter can also be located inside the fuel tank - in this case, you will need to remove the small tank hatch, and pull it out along with the fuel pump. In this case, you will need to stock up on a special sealant for the subsequent installation of the hatch cover with a replaced fuel filter.
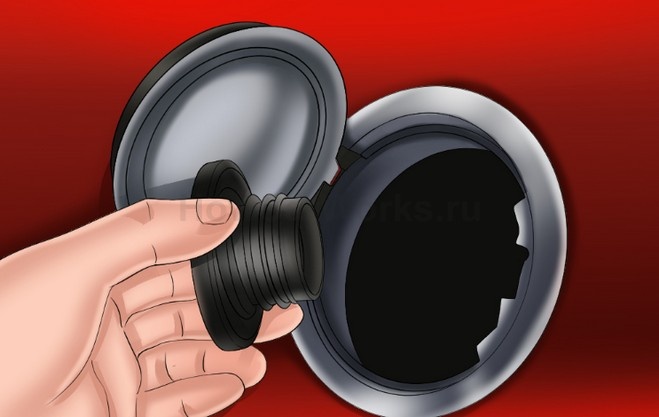
Step 2: Loosen the fuel tank cap to relieve pressure in the fuel supply system.
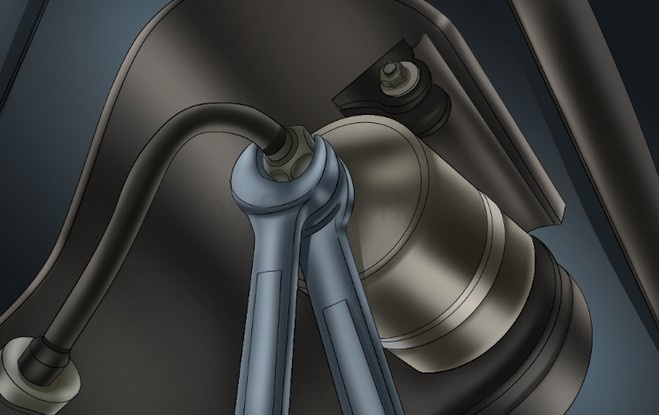
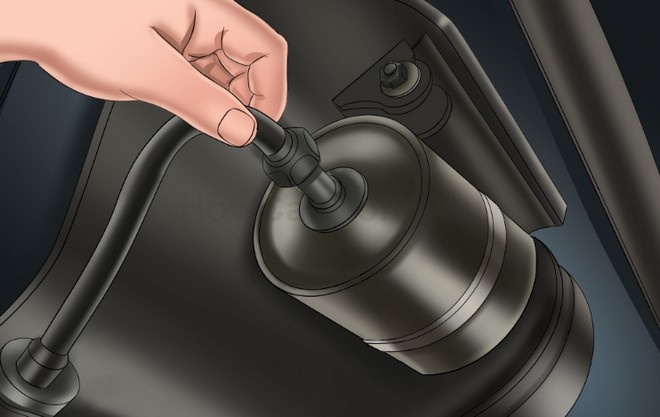
Step 3: Disconnect the fuel line. Use two wrenches to disconnect the fuel lines from the filter. Place one wrench on the fuel filter fitting and the other on the flare nut. Turn the fuel line fitting counterclockwise while holding the filter with another wrench.
Note A: This method for disconnecting the fuel lines varies between car models. Some vehicles are equipped with quick disconnect fittings that must be disconnected using a special tool. Some vehicles have fuel lines that are held on by clamps that are removed with pliers or a screwdriver.
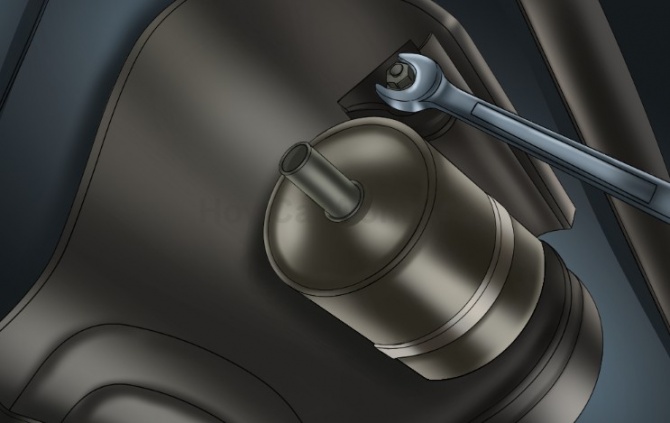
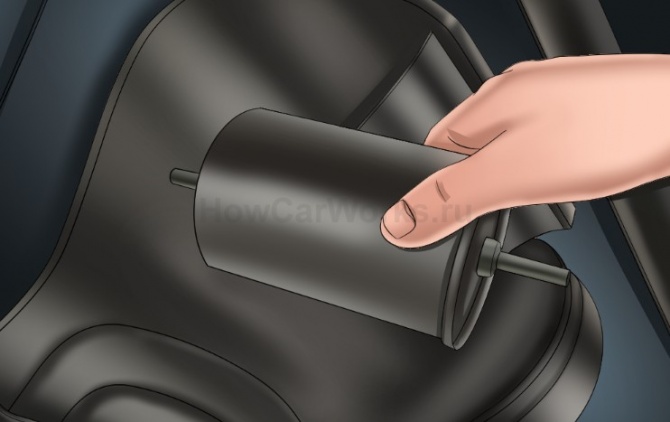
Step 4: Now detach the fuel filter itself from the brackets. Loosen the fasteners with a ratchet or wrench of the appropriate size.
Step 5: Remove the fuel filter. Once the fasteners have been removed, pull the fuel filter out of the bracket. Discard the old fuel filter.
Part 2: Install a new fuel filter
Step 1: Install the new fuel filter in the mounting bracket. Then tighten it with the same fasteners on the bracket in reverse order from the filter removal process.

Step 2: Install fuel lines. Push the fuel lines by hand onto the filter. Place a wrench on the fuel filter and another wrench on the flare nut. Turn the second key clockwise until it holds the filter tightly with the other key.
Step 3: Replace the fuel tank cap.
Step 4: Check the operation of the vehicle. Start the engine and check the area around the fuel filter for leaks. If you find a fuel leak, recheck the fuel filter, fuel lines and all fittings.