A modern VUT, that is, a vacuum brake booster, also called a vacuum cleaner, is a very important design in a car. It is from such a cunning and interesting device that the overall safety of the car will depend, especially if the motorist likes to drive at fairly high speeds. If it is necessary to repair the vacuum brake booster, then in most cases it is simply replaced, which is very practical and convenient, but it can also be repaired.
Why you need a brake booster

Thanks to such a convenient amplifier, even a weak woman can easily drive a multi-tonnage vehicle. This amplifier is used to minimize the overall efforts of the driver, who will now be able to stop even a very heavy car, and as easily and very quickly as possible. A large braking torque is created here with minimal effort with pressure on the brake pedal, the main aspect of the VUT operation is the vacuum amplification of conventional mechanical movement. Today, without such a design, it is already difficult to imagine at least one car, thanks to this amplifier, even multi-ton large vehicles can be stopped quickly and without problems. Today, repairing a vacuum brake booster is a fairly simple operation that is carried out very quickly.
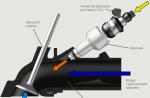
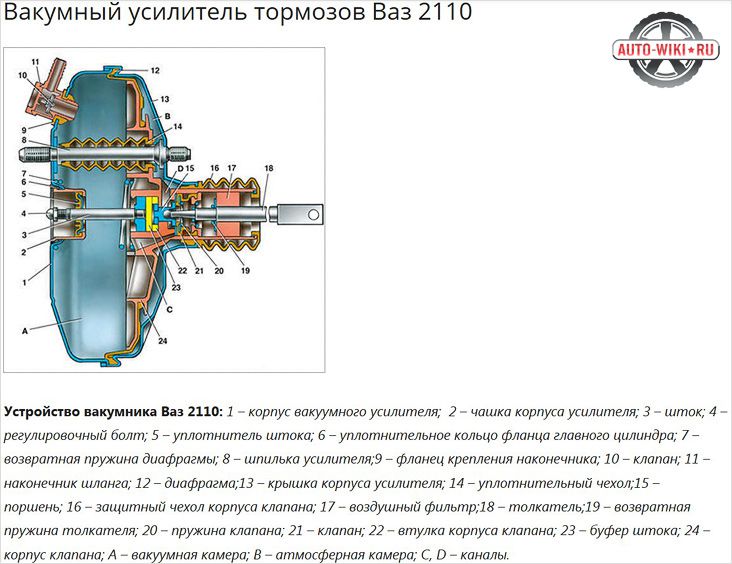
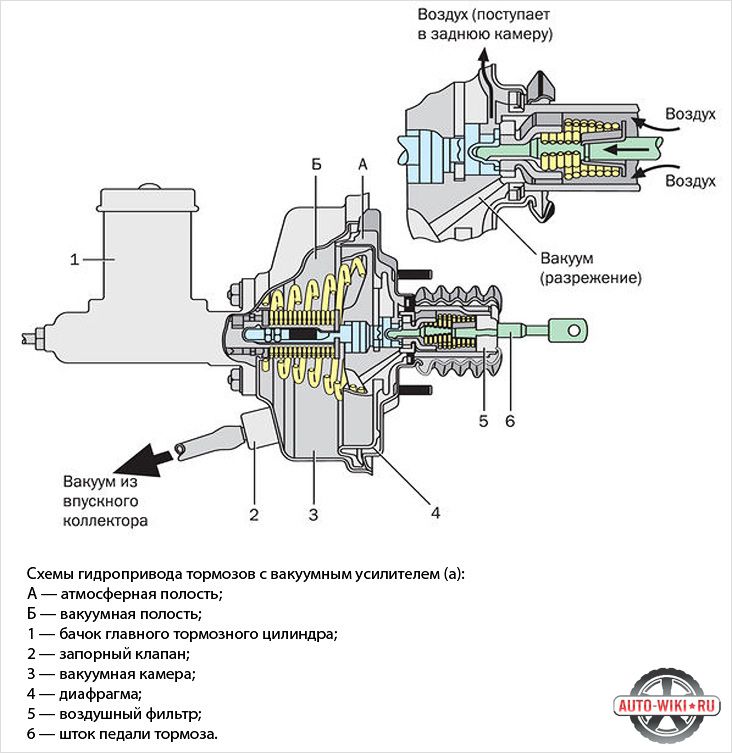
VUT device:
- General body.
- The diaphragm is working.
- Working special valve.
- Pedal pusher.
- Hydraulic cylinder rod.
- Return spring.
Major breakdowns of VUT, amplifier diagnostics
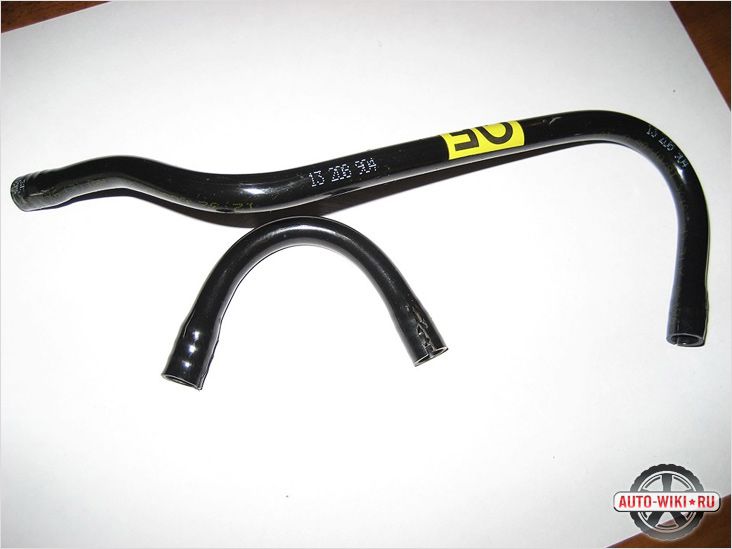
In the event of a breakdown of the VUT, the automobile braking system does not fail and will continue to work further. Due to such a breakdown, driving will be more difficult, that is, the driver must already make much more effort to brake. Among the main common causes of VUT breakdowns can be a rupture of the working hose that connects the VUT to the engine itself. Such a rupture of the hose can be easily calculated by the characteristic hiss; to repair the product, you should also check the tightness of the clamp and the quality of the hose itself.
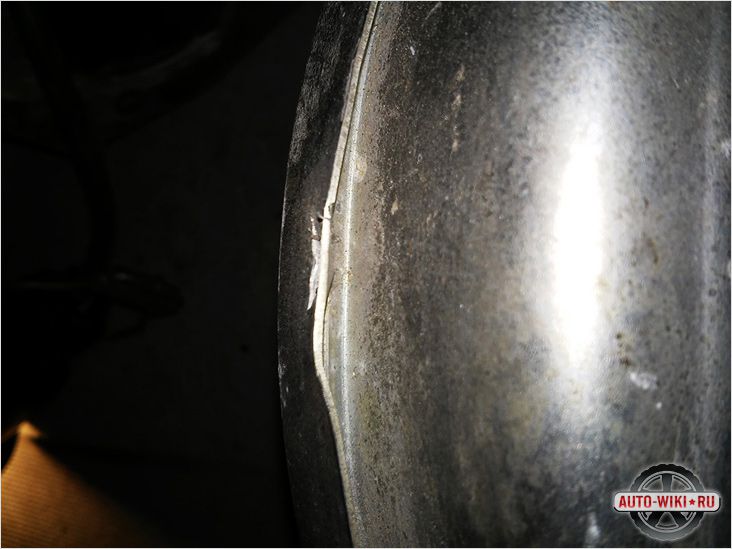
Often there are a number of breakdowns inside the VU itself, the valve usually fails, and rubber wear or rupture of the elastic partition is also possible, which you can replace with your own hands quite quickly. Also, a breakdown is caused by a rupture of the common diaphragm of the brake booster, here the tightness of this system changes, which leads to air leakage in the device. Sometimes, when the fastening is loosened, the working membrane may go a little forward, which leads to a gap, and a certain knock will be emitted during braking. To solve this problem, you should adjust the stem and slightly extend it.
To check the correct operation of a modern VU, a general diagnostics of its operation should be carried out. It is advisable, before checking the vacuum brake booster, to investigate the operation of the motor, which can triple during this breakdown. The amplifier can still be checked like this, the pedal is pressed all the way, now the engine starts, if the pedal then goes down, then everything is fine, and if its position does not change, then repair is already required. You can also check the VUT in this way, the engine starts and the brake is immediately pressed, then the engine turns off, and the pedal is pressed for another 30 seconds, if the pedal rises slightly, then the VUT is definitely faulty. Diagnostics and general adjustment of the VUT must be carried out clearly, constantly and functionally, as this is an important aspect of the safety of the entire vehicle.
More about checking VUT:
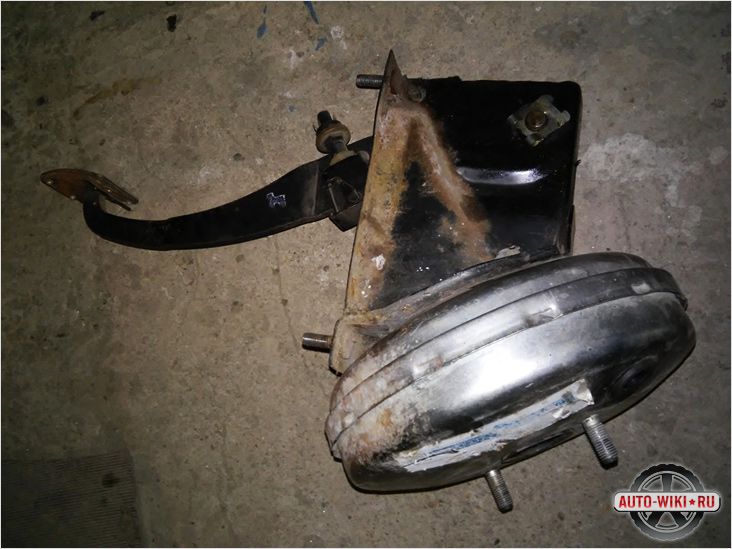
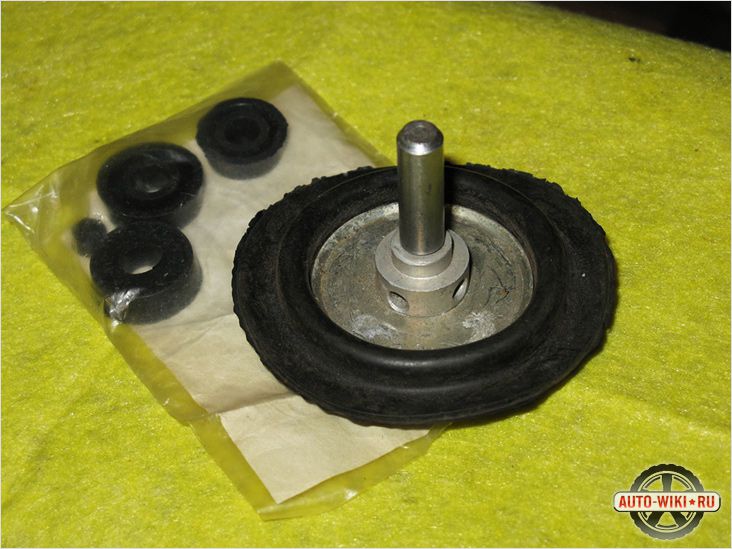
Repair, removal of VUT and its disassembly
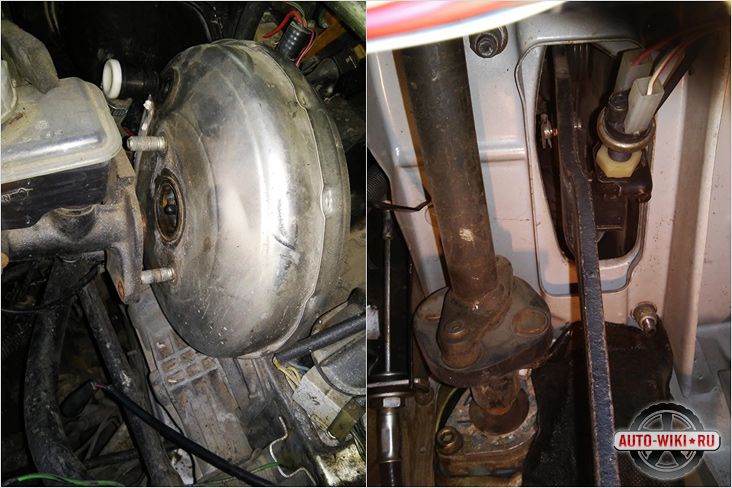
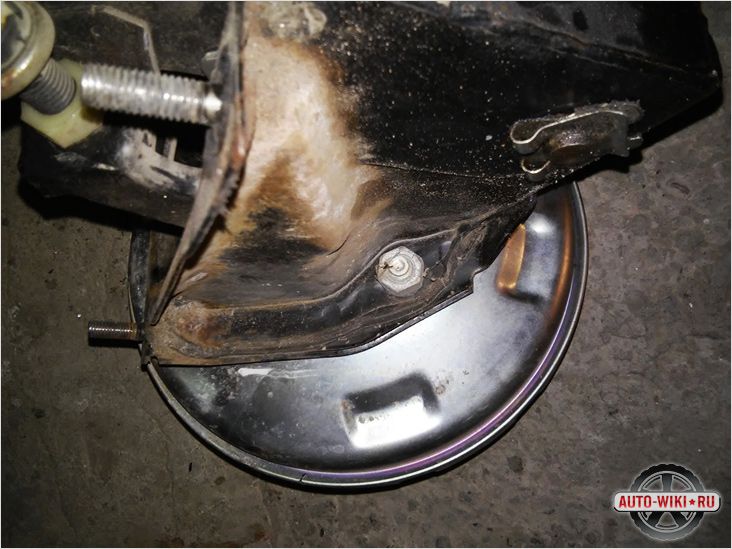
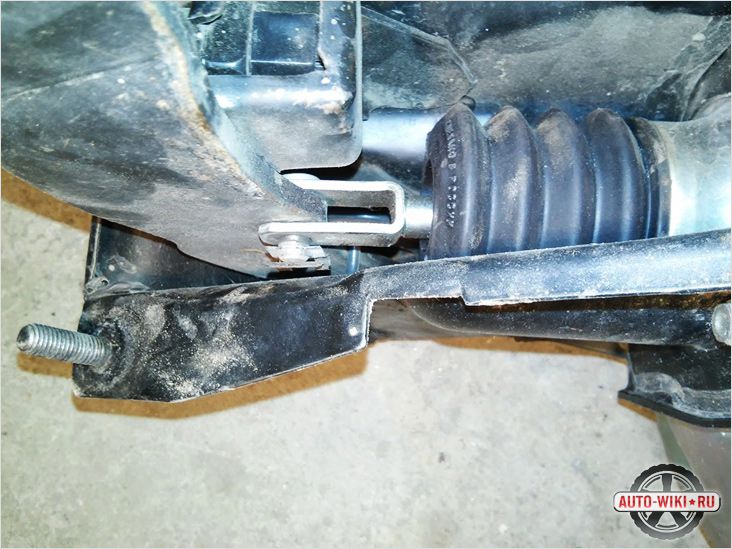
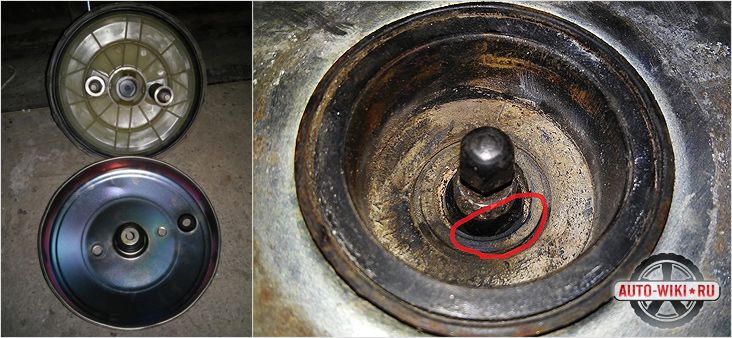
To repair and adjust the operation of the vacuum cleaner, you first need to correctly and correctly remove the amplifier itself. Before such an operation, all signs of a malfunction in the operation of this unit should be checked. Here it is required to follow a clear order of all work when removing the amplifier, first the main cylinder, the amplifier itself and the pipeline should be cleaned of dirt. Now you need to disconnect the pipelines from the cylinder, as well as the rubber hose from the valve. The axle is unpinned, and after that the fork is disconnected from the auto brake pedal itself. Now you need to unscrew the brake bracket nuts, only it is better to do this with two people to keep the master cylinder from falling.
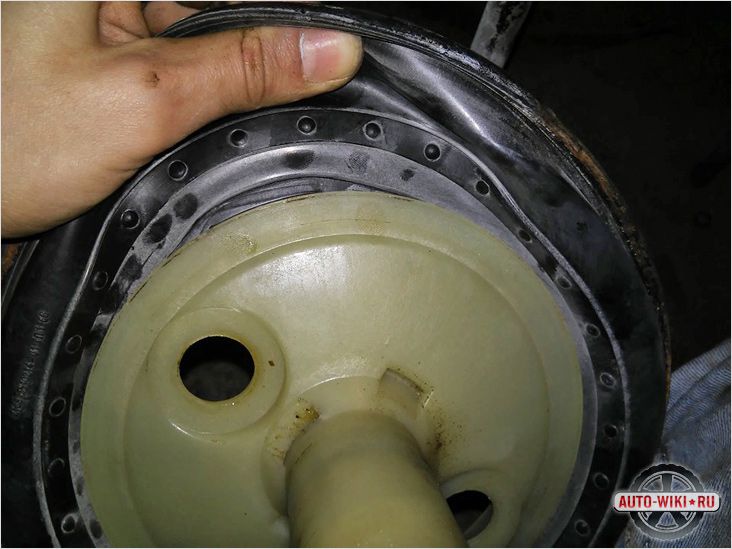
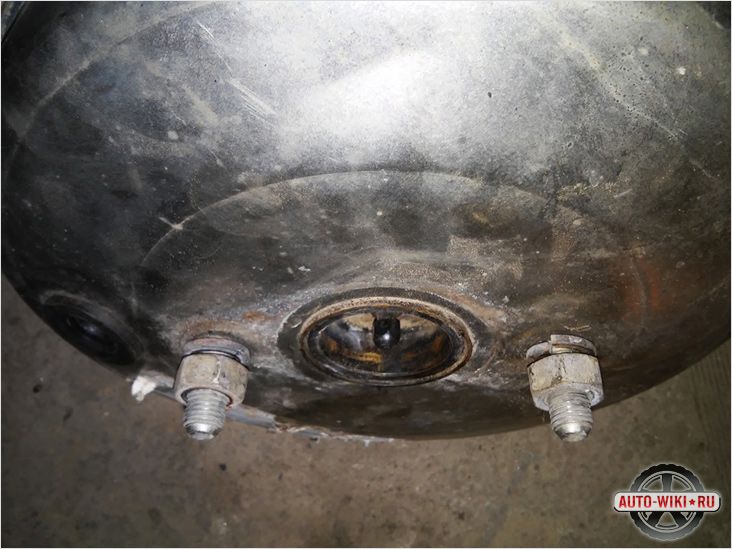
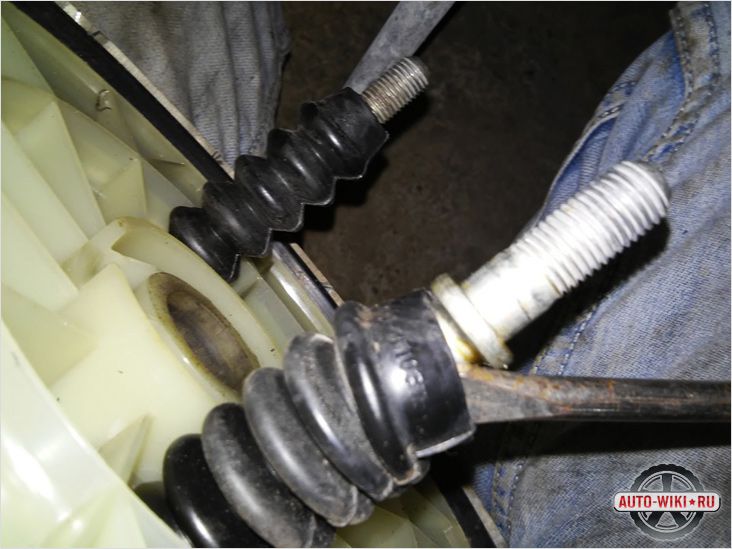
Now, immediately after the operations performed, you can remove the amplifier itself, then unscrew 2 nuts and disconnect the product from the cylinder. Next, the bolts are tightened, the ring is rotated, and this is done so that the protrusions are opposite the grooves, now the bolts are released, after which the base and cover will be separated. The lock nut is loosened and the fork is unscrewed, the cover is removed for protection and the air working filter itself is removed. Now the pusher bushing is turned out and the housing with the diaphragm is removed, the valve and other parts of the amplifier are disassembled. Disassembly and repair of such an amplifier in a VAZ 2110 car and in other domestic brands will be exactly the same.
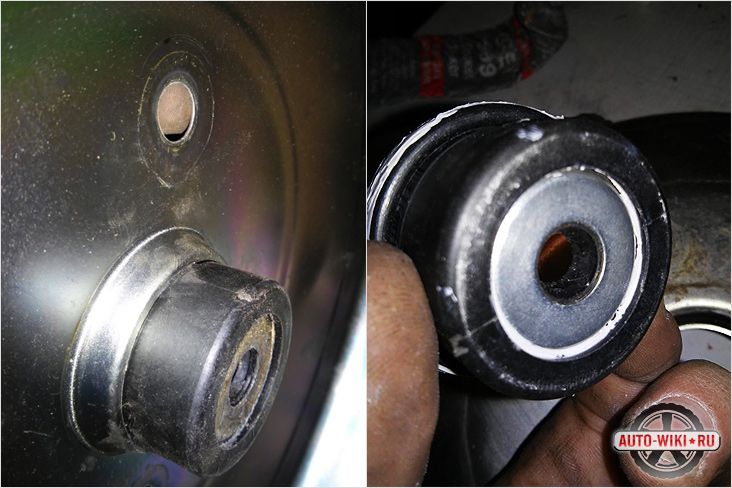
Next, the lock washer, seal collar and ring are removed, only now it is already possible to inspect all the parts and, if necessary, replace them. The check valve is a non-separable element here, so if it works poorly, then it is simply replaced without repair. Such disassembly is usually done only partially, and a complete general disassembly is required only in difficult situations. It is recommended that in such a removal, first study the recommendations in the instructions for the repair and maintenance of the car.
Photo instructions for disassembly:

Product assembly and processing
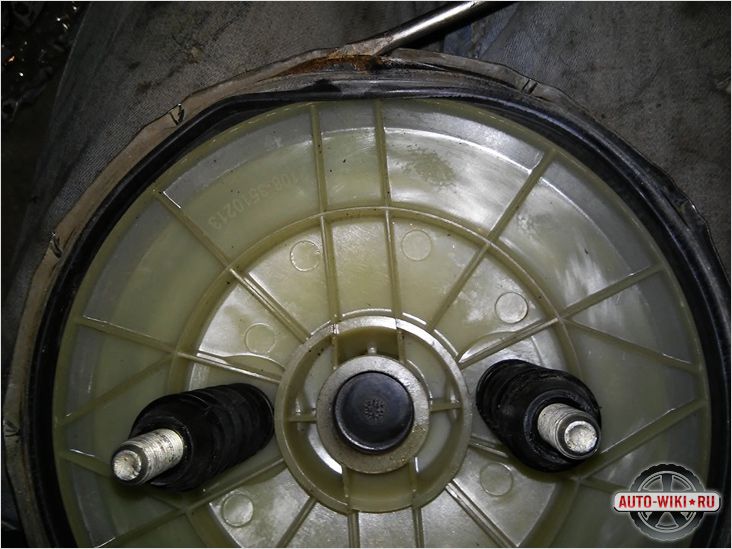
Prior to processing and assembly, it is required to thoroughly clean all VUT parts, and if necessary, replace them. The working parts can still be washed in ordinary gasoline, this is done with all elements of the amplifier, except for the sealing common ring, and after that the parts can be dried with an air stream. Next, the amplifier is adjusted and assembled, first the ring and cuff are inserted into the base, and then their location is fixed. The body is fixed on the device, and then it is desirable to lubricate the diaphragm with talc and install it on the body flange. Now the support ring is inserted into the diaphragm, and the product itself is inserted into the shell of the support disk. This operation will be common for both Moskvich and VAZ 2109, since the design of the amplifier is the same everywhere.
It is desirable to cover the central valve with molybdenum disulfide, and after that it is required to remove excess of this powder from the part. Now you can put the support washer on the valve, and then install the valve on the washer for fixing. Next, insert the diaphragm into the assembled assembly, install the spring and the plate, and then insert the rod itself through the holes. A technological special screw connects the stem and the body, while the total surface of the body must be treated with grease. A cover with a valve is assembled, a spring is installed and a ring is put on, and then a cover with a body is assembled.
The cover is connected to the case base, the amplifier is removed and installed on the stand for adjustment. The thread of the adjusting common screw is lubricated to protect the product from self-unscrewing, while the screw must enter the stem until the piston moves inside the amplifier. The adjusting bolt is lubricated to protect against self-unscrewing, and then screwed into the stem. The pusher is inserted into the body of the common piston and the sleeve is screwed in until it stops. Now the filter and cover are installed, the lock nut and the fork are screwed onto the thread of the pusher. Further, the amplifier still undergoes a series of checks on a special stand required to control operation.
Results, amplifier operation
Today, it will be difficult to find at least one motorist who managed to ride cars with ordinary simple brakes. It was on such old cars that you had to press hard on the brake pedals when you needed to quickly stop the car. It was necessary to put pressure on the brake with all your strength and put the mass of your whole body into it, and this operation required physically great effort. Those days are long gone, and the stubborn hard pedal has been replaced by power brakes. For each machine, the principle of the general operation of VUT amplifiers will be identical, that is, the design of the product will be the same everywhere.
Video
This video shows how to disassemble the VUT: