In cold weather or just in rainy weather, when you turn on the heated rear window, you can find that it simply does not work - either completely, fogging does not go away, or one or more threads do not heat up. This reduces the view from the rear window – which can have a negative impact on driving safety! Need to be restored. BUT how, what to do? It turns out that everything is quite simple, we read ...
Actually, the reason has long been known to everyone, on our VAZs, these threads were constantly “burning”, and they rode with 1 - 2 - 3 threads that did not warm up, terribly inconvenient! But now it turns out that for a long time there are tools and repair kits that allow you to restore the whole thing, and quite effectively.
How does the heated rear window work?
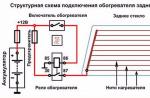
Everything is just wires with a voltage of 12 volts to the rear window. On the surface on the sides there are special tracks into which these wires are embedded. The tracks go vertically up, so to speak - the "main bus", there are two of them on the right and left, at the extreme points.
And now they come from them, thin (2 - 3 mm), horizontal strips that heat up the glass itself, clearing it from fogging or snow in winter. They are the main working element of the whole structure.
Usually there are several dozen of them, about 20 - 40 in the working area, it all depends on the class of the car and the size of its rear window.
Of course, any electrical device is controlled by a fuse, which is designed for a certain voltage and amperage.
Doesn't work what is the reason?
Actually, there are only two main reasons, and both of them lie in the power system:
- Fuse. YES, it can actually burn out. This happens due to various reasons, maybe it’s not a big short circuit and that’s it. Thus, the heating will not work for you completely. Need to find . This is the first and mandatory step.
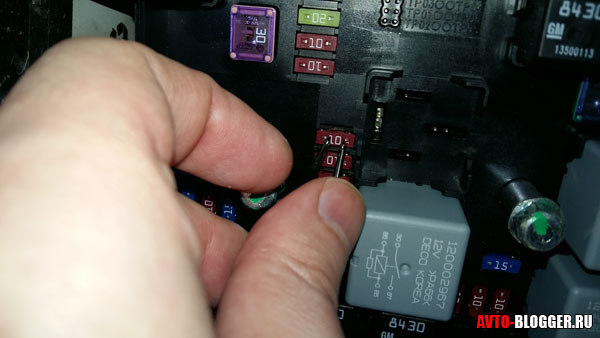
- If it is intact, then we need to check the voltage on the wires that fit the main "tires" (side wide strips). As a rule, they have ordinary metal contacts. We just take a multimeter and measure it, if there is voltage and it is about 12 volts, then the power is coming here, everything is in order.
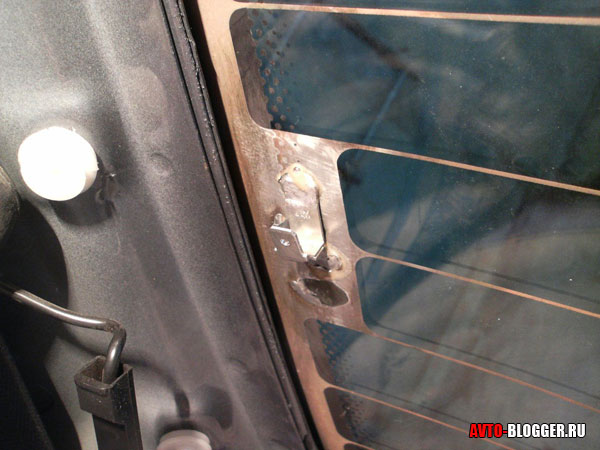
- The thin lines themselves. To be honest, all of them cannot burn out at once. As a rule, it burns out from one to three, well, a maximum of four “threads”. Therefore, if you have part of the window moving away (from fogging or ice), but not part. It is necessary to look at non-working threads.
![]()
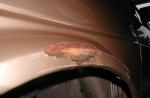
- Examine this thin strip and you will see the place of the break. This will be the burnt part, there may be a little black around it (although the thread is initially brown). Also, the thread will, as it were, open, and this place must be connected in order to restore working capacity.
From myself I want to add that the fuse rarely burns, basically it is a break in the "threads" of glass, it is they who need to be restored.
Do-it-yourself heating repair
I remember a long time ago when it was almost impossible! Now what technology has come to - you can buy a rear window repair kit, just to restore these narrow strips. I suspect that there is some kind of metallized composition, or paint - but it is called conductive glue.
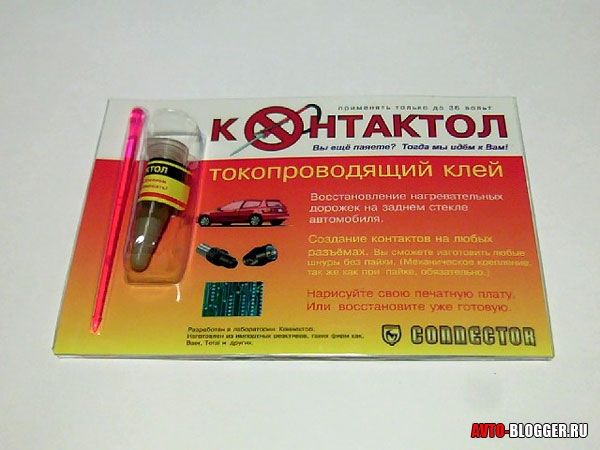
Such glue withstands temperatures from - 60 to + 100 degrees Celsius. That is what we need to buy. The only thing I want to tell you - do not take the cheapest composition, now in my opinion it is about 150 - 200 rubles, take a little more expensive about 300 - 400 rubles, such compositions work much longer.
Now the actual instructions for recovery:
- To begin with, you need a little, I repeat a little - to clean the edges of the strip in the places of the cliff. It is necessary to remove soot and other deposits that form on the glass. For this, sandpaper "null" is ideal, just a couple of movements and you're done.
- We wipe with alcohol, remove all plaque.
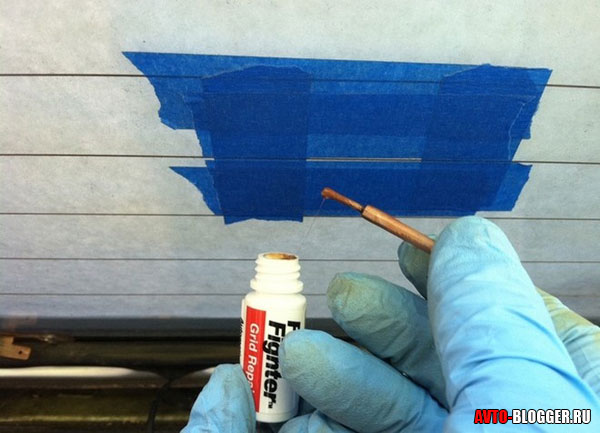
- Now we take the adhesive tape, and paste the strips on the sides, in its thickness. The adhesive tape should not cover the strip, but it should not move away from it for a long distance exactly along the width of the thread, so that there are no gaps.
- Next, we take our composition, “conductive glue”. He either has a syringe or a special brush. We begin to paint over the place that we have prepared. How many layers to apply will be written in the instructions. So it is worth noting that you need to go to the working sections of the strip 1 centimeter to the right and left.
- Now we need to dry the composition. Take off the tape and wait. Usually about 24 hours is enough. BUT NOT EARLIER! After that we turn on and check the performance, everything should work.
That's all, this is not a complicated instruction. Now we are watching the video version.
This is the end, read our AUTOBLOG