Hi all. I think the title of the article speaks for itself - “the stages of painting a car with your own hands, a step-by-step algorithm”, therefore, there will be no short announcement of the article adopted on our website .... straight to the body...
The first stage of painting is the choice of paint.
If the car is partially painted, then the choice is not worth it, we take the paint that the rest of the body is painted, if the car is painted completely, then you can change the color and type of paint, in other words, about how to choose paint for a car on our website
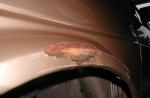
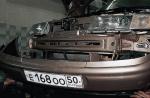
The second stage is washing and damage assessment.
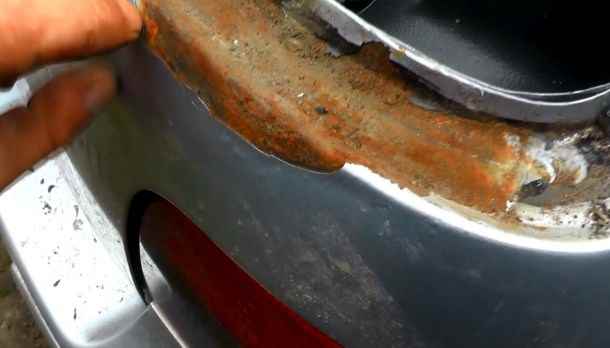
At this stage, we inspect a completely clean car, evaluate the corrosion of body elements, and decide on the need for welding.
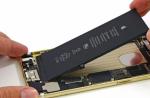
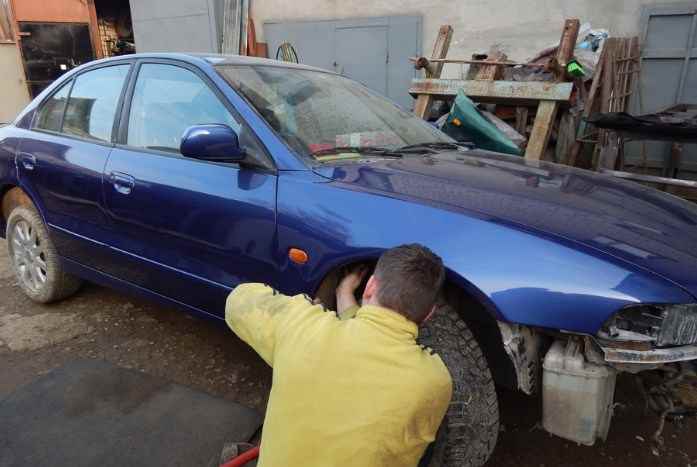
The third stage is disassembly.
At this stage, we remove all components and assemblies that will interfere with us when painting the car. For example, when painting a wing, it is necessary to remove the locker, repeater, headlight, and sometimes moldings.
When the car is completely painted, it is necessary to remove handles, windows, door locks, mudguards and wheel arch liners, moldings, antennas, headlights and similar elements. Dismantling - each time is carried out individually, and what exactly is removed depends on whether the entire body or only part of it is painted.
The fourth stage is welding and straightening (if necessary).
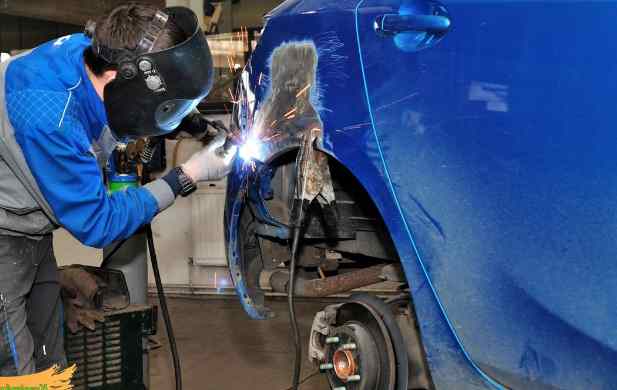
At this stage, with the help of a grinder, all damaged body panels, or parts of body panels (for example, arches) are cut out. Immediately after welding, the welds are ground with a grinding wheel on a grinder and treated with a seam sealant.
If the body parts are damaged from impacts, sometimes they may need straightening (this will improve the quality of the repair and reduce the consumption of materials in the future).
The reverse side of the panel after welding and straightening is processed with Movil, bituminous mastic, or anti-gravel. These coatings are applied in accordance with the instructions for use, in some cases the coatings are applied over a primer, such as anti-gravel.
The fifth stage is puttying and matting.
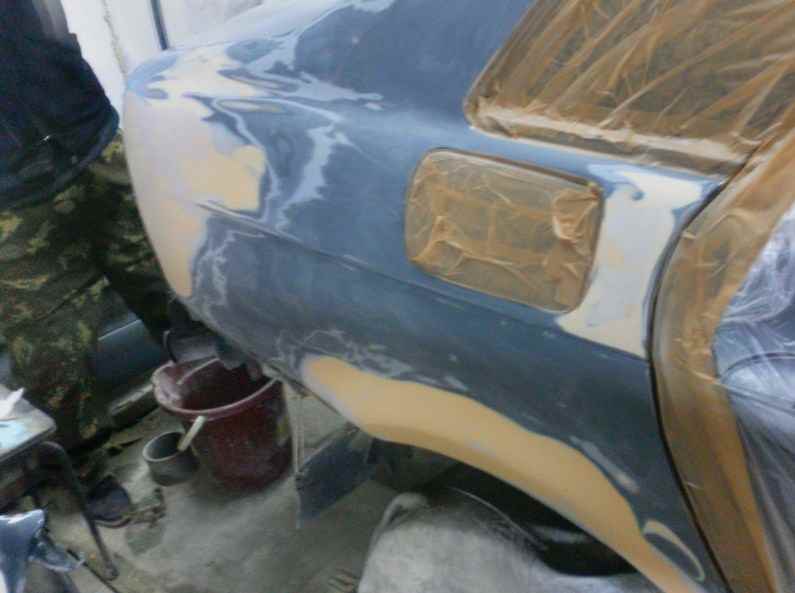
At this stage, with the help of automotive putties, sometimes with the help of fiberglass epoxy, the original shape of the car is displayed.
Usually, to restore the shape of the body, they begin with epoxy with fiberglass (sometimes this step is skipped, especially if the damage is minor), then with fiberglass putty, then soft putty, sometimes later with liquid putty.
Before each application of putty, the surface is dried, matted with sandpaper, degreased, however, we have a separate article about applying putty.
Puttying is considered completed when the surface of the putty repeats the initial shape of the car and is processed with sandpaper number 240-360. When grouting putty between coats, I usually end up with 120 grit sandpaper.
At the same stage, matting of surfaces to be painted is carried out. We usually mat, with water, using sandpaper with a number of 180-240 (under the ground this is enough).
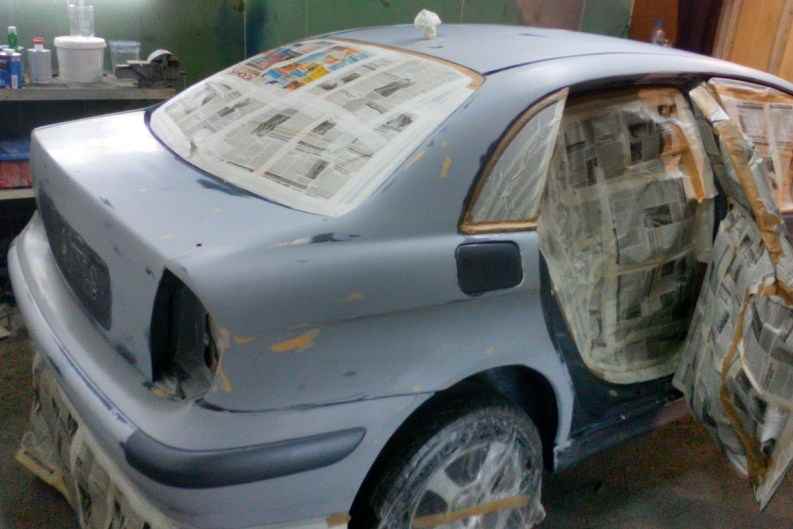
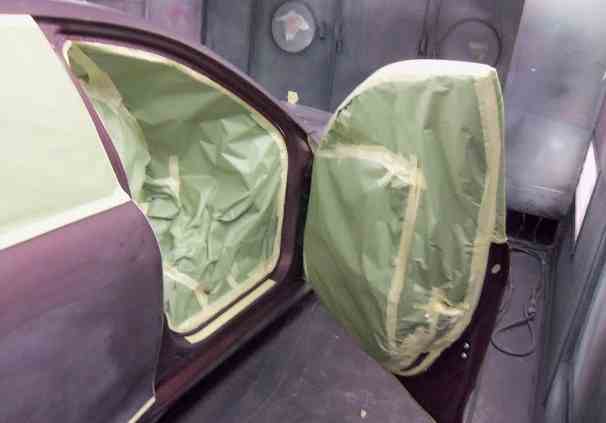
The sixth stage is the first pasting.
The fact is that during painting and priming, a lot of material flies past, respectively, if this material gets on parts of the body, or trim elements that do not require painting, they are damaged. To prevent this from happening, gluing is used. Those. with the help of films, newspapers, and masking tape, everything that does not need to be painted is covered.
When pasting under the ground, I prefer the film, as it is faster and easier to glue.
The seventh stage is priming.
About the choice of the type of soil and its color, we have a separate article on our website.
At this stage, primer is applied to all surfaces to be painted. The primer is applied to a previously prepared surface.
By prepared surface I mean old paint, bare body metal, or putty that has no gloss and is matted with 240-360 sandpaper. When applied to a glossy surface, the primer will not stick and fall off during the first wash.
Immediately before applying the primer, it is necessary to degrease the surface with a silicone remover or gasoline (we also have a separate article about this).
The primer is applied in accordance with the instructions of a particular manufacturer from a spray gun with a nozzle of 1.4-1.6 mm.
After application, the primer is dried until completely dry.
The eighth stage is preparation for paint.
At this stage, we apply the mat to the ground, sequentially processing it with sandpaper with numbers 240-480 (for acrylic), and 240-800 (for metallic). Matting is better with water, as the speed of work increases, the consumption of sandpaper decreases and the amount of dust in the air decreases.
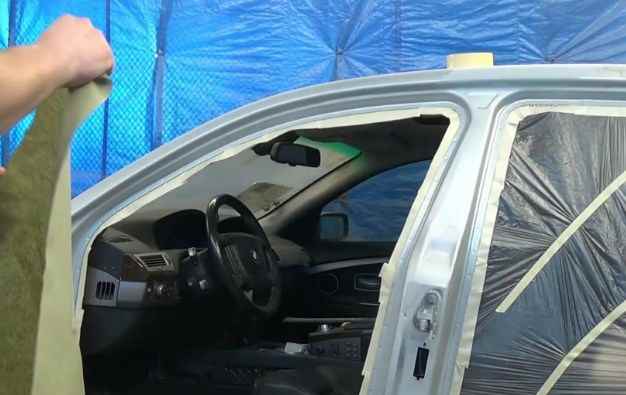
The ninth stage is re-pasting.
At this stage, we replace old films on glass and elements that do not require painting. The fact is that when applying paint, the films will inevitably sway and the primer that has previously flown on them will fly off from them, as you understand, according to the law of meanness, it will fall in flakes on fresh, not yet dried paint and ruin the coating.
It is better to re-glue the film with primer before painting! Personally, I prefer to paste over the car with newspapers or wallpaper for painting (they do not flutter like a film and dried paint does not fly from them)
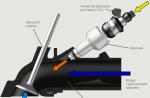
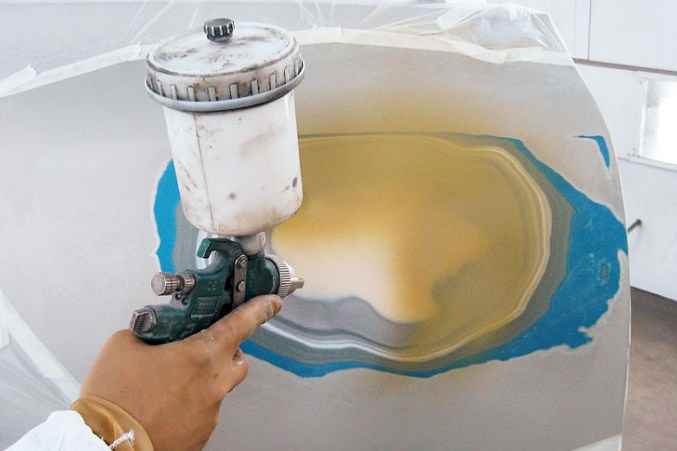
The tenth stage is coloring.
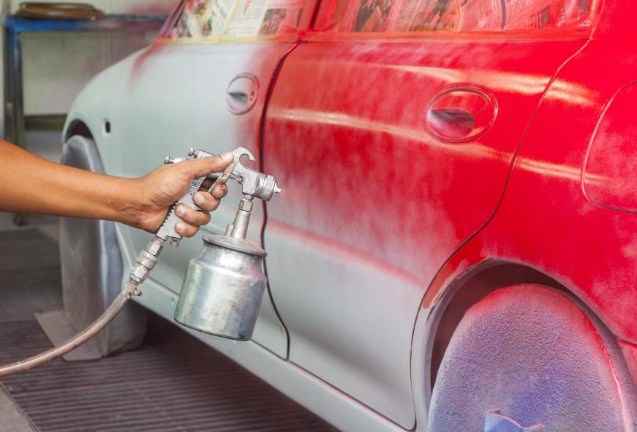
At this stage, paint is applied to the prepared soil and the glued car. Immediately before painting, it is necessary to degrease the surface with a silicone remover.
The paint is applied in accordance with the manufacturer's recommendations using an airbrush with a nozzle of 1.2-1.3 mm. Usually the paint is applied in 3-4 layers. If acrylic enamel is used as a paint, usually the coloring ends at this stage and by the 12th stage (drying). Although acrylic enamel can also be applied under varnish.
The eleventh stage is varnishing.
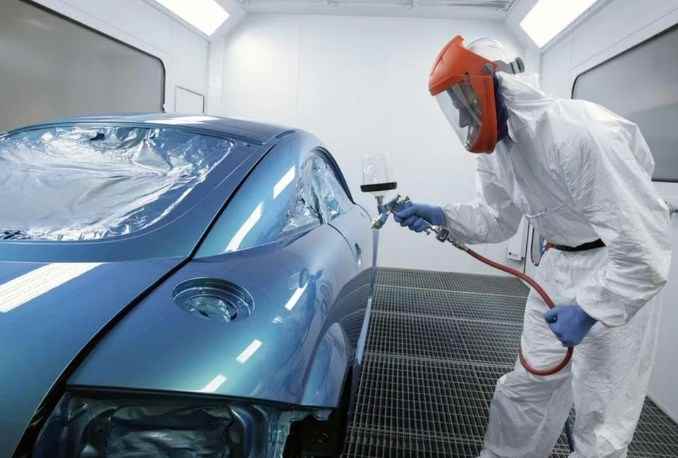
After the base enamel has dried, in the case of a metallic one, it is necessary to remove dust from the surface. This is done with the help of a so-called sticky napkin. antistatic.
Before varnishing, the metallic surface is not degreased, as washing off the silicone will wash it away! Therefore, varnishing begins 20-30 minutes after applying the last layer of metallic.
The varnish is applied in accordance with the manufacturer's instructions, usually when varnishing, an airbrush with a nozzle diameter of 1.4-1.5 mm is used.
Lacquer is applied in 2-3 layers depending on the manufacturer and painting conditions.
The twelfth stage is drying.
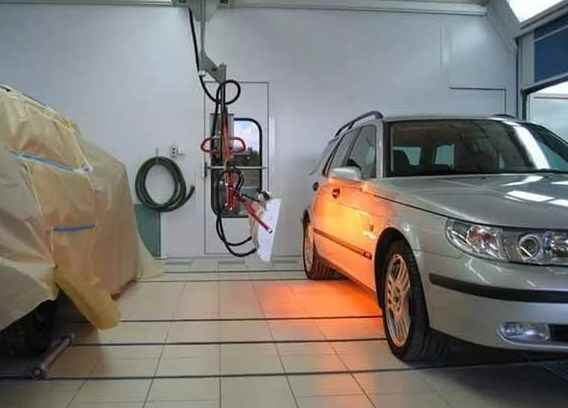
After applying the last layer of varnish or paint (in the case of acrylic), drying is necessary. Full drying time for acrylic enamels under normal conditions is 24 hours. At elevated temperatures or when using ultra-fast hardeners, the drying time is reduced to 2-6 hours.
During this time, the paint dries completely, but does not "get up" i.e. does not gain final strength. Full polymerization of varnish/paint usually takes 1-2 weeks.
The thirteenth stage is assembly.
After the paint has dried, we paste the car and install all previously removed elements (headlights, windows, repeaters, moldings, etc.) in place. When assembling, accuracy is important, as fresh paint scratches very easily.
The fourteenth stage is polishing and eliminating deficiencies.

Often, if you painted for the first time, dust, smudges, non-spreading shagreen remain on the paint, all these troubles are removed by polishing. Polishing can be carried out no earlier than 2 weeks after painting the car.
If there are smudges on the paint, they are sanded out according to the technology described here.
The polishing technology is as follows - using sandpaper with water, the car is sanded sequentially with numbers 800-1000-1200-1500 and polished using a polishing wheel and a polishing machine with three numbers of paste. The process is not fast, and we have a separate article about it on our website - polishing.
This completes the painting. If you still have questions about the stages of painting a car, or about how a particular stage of painting is carried out, ask them through the comments.