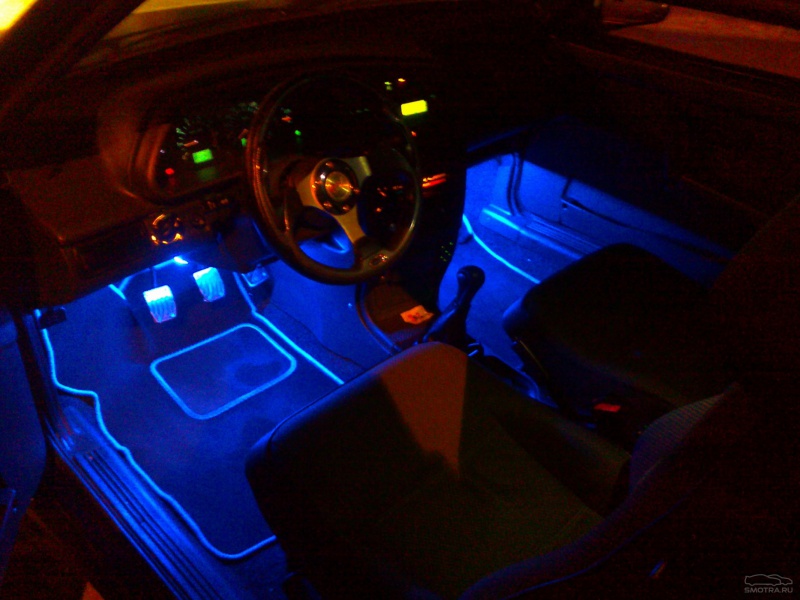
LED footwell lighting in the cabin is quite simple to create and looks very attractive. Imagine how an old VAZ drives up to a stop, to which no one pays attention. But suddenly the door opens and everyone sees how the salon flashes with bright lights that make it unique. So the plain old upholstery of the cabin is transformed and takes on the appearance of a chic salon. Of course, it attracts the eyes of others.
With the help of creating LED footwell lighting, you can transform any car. Different combinations of colors and a rich glow became possible due to the LED backlight. Special tuning studios currently offer various innovations, additions and alterations, including interior lighting.
How does the backlight work?
Much depends on your preferences. For example, the backlight can turn on when switched on from standard lighting when the doors are opened, or it can be controlled by an electronic unit. You can also combine two options at once. The illumination of the lower part of the cabin can be made neon, connected to the door opening sensor, and the rest of the illumination can be made from LEDs connected via a block switch.
Varieties of interior lighting
There are different options for creating interior lighting in a car, among which we can highlight the following:
LED lights
- Its first advantage lies in the ease of installation.
- Emitters do not require special devices for fixing. Most often, the mounting surface is covered with adhesive tape.
- Individual LEDs are miniature in size, so they can even be inserted into simple sockets for regular bulbs.
- Instant ignition allows you to use the LED strip to create lighting effects and light music.
- The LED strip is shockproof and sealed. Long life diodes hardly ever fail unless you reverse the polarity when installing them.
- Neon lamps have a bright and saturated light.
- The backlight is difficult to install.
- Lamps are capricious in operation.
- They are afraid of rhythmic on and off cycles, so you will not be able to make light music out of them.
- They are afraid of mechanical damage.
How to make interior lighting with your own hands?
The lighting of the lower part under the feet of the driver and passenger can be made neon, and the ceiling can be illuminated with LED lamps.
Installing neon lights
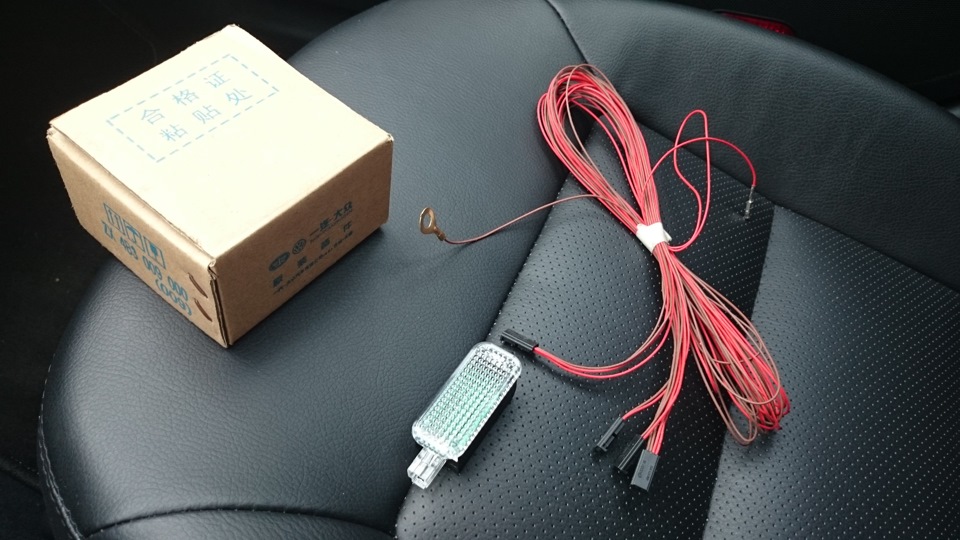
First you need to install special emitters, for which you will need the following materials:
- nylon clamps;
- aluminum corner;
- neon emitters;
- self-tapping screws.
Many neon lights are sold with a cigarette lighter socket - we do not need it. It should be cut off and stripped the ends of the wires by 5-10 mm.
It is necessary to saw off a corner according to the size of the emitter and fasten it with self-tapping screws under the torpedo. The light should fall down right under your feet. After that, it is necessary to fix the emitter with clamps to the corner.
The same operation must be performed with all passenger seats in the car. On the rear seats, screw the corner with the edge up, protecting the emitter from mechanical damage.
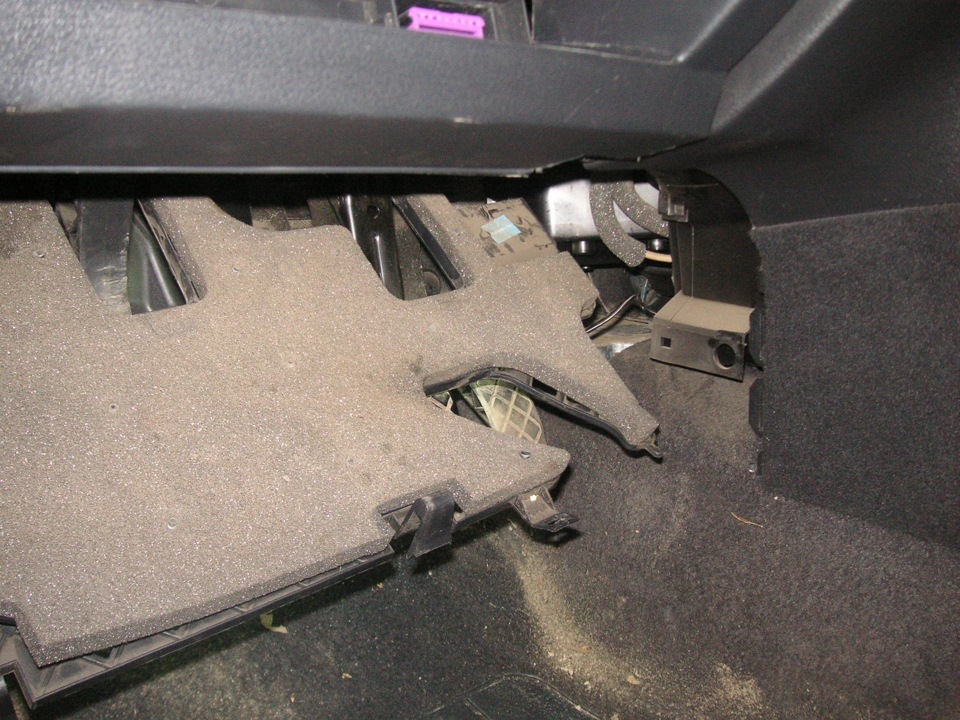
Lay all wires carefully under the floor and pull out to the dashboard on the driver's side. If necessary, they must be increased and insulated at the connection points.
When connecting, the wires should be connected to the door opening sensor and the interior lighting switch so that when the door is opened and the lighting is turned on, our additional lighting lights up.
LED backlight installation
LED footwell lighting in the car can be done according to the standard scheme, which is the same for all cars. For work you will need:
- heat-shrink tubing;
- wire section 4x0.5 mm;
- LED strip and single diodes (you can take a pre-assembled strip like SMD 5050, but it costs more, so you can buy RGB strip sold by the meter).
The factory tape does not require additional preparation, and with long products you will need to tinker a little.
You can install the backlight on the instrument panel, in the places of salon lamps and in those places where standard lighting elements are installed. You can replace all this with LEDs. Single LEDs have the same base as standard lamps, so if necessary, you can easily replace everything.
After that, you can determine the location of the backlight. Traditionally, it is installed in the legs and along the perimeter of the roof along the racks. First you need to measure the required length of the tape and cut it to the desired size.
Tape should be cut only in special places where solder contacts are located. The wire should be measured in such a way that it is enough to the ignition switch (always provide some margin).
Cut off, strip the ends and solder to the tape, and then stretch the heat shrink tube and heat it with a regular household hair dryer or a lighter until it shrinks.
The same should be done with other pieces of tape. After that, remove the protective film from the back of the tape and stick the tape in the right place. All wires must be hidden under the lining of the racks and brought under the torpedo on the driver's side.
Connection options:
- connect via RGB block container;
- connection in the same way as neon lamps.
We described the second option above, but we will add that when connecting, care must be taken not to confuse the polarity indicated on the tape at the solder points.
Another option is more complicated, but according to a special scheme, you can easily connect everything.
When the do-it-yourself interior lighting is ready, you need to turn it on and check its operation.